If you’re getting ready to install tile, one decision you really don’t want to rush is picking the tile backer board. It might not be the star of the show like the tile itself, but the backer board is the unsung hero that supports everything. It helps prevent moisture damage, keeps the tile secure, and ensures your hard work lasts for years.
With so many options out there, it’s easy to get overwhelmed. This guide will help you understand the different types of tile backer boards and how to choose the one that’s right for your space and project.
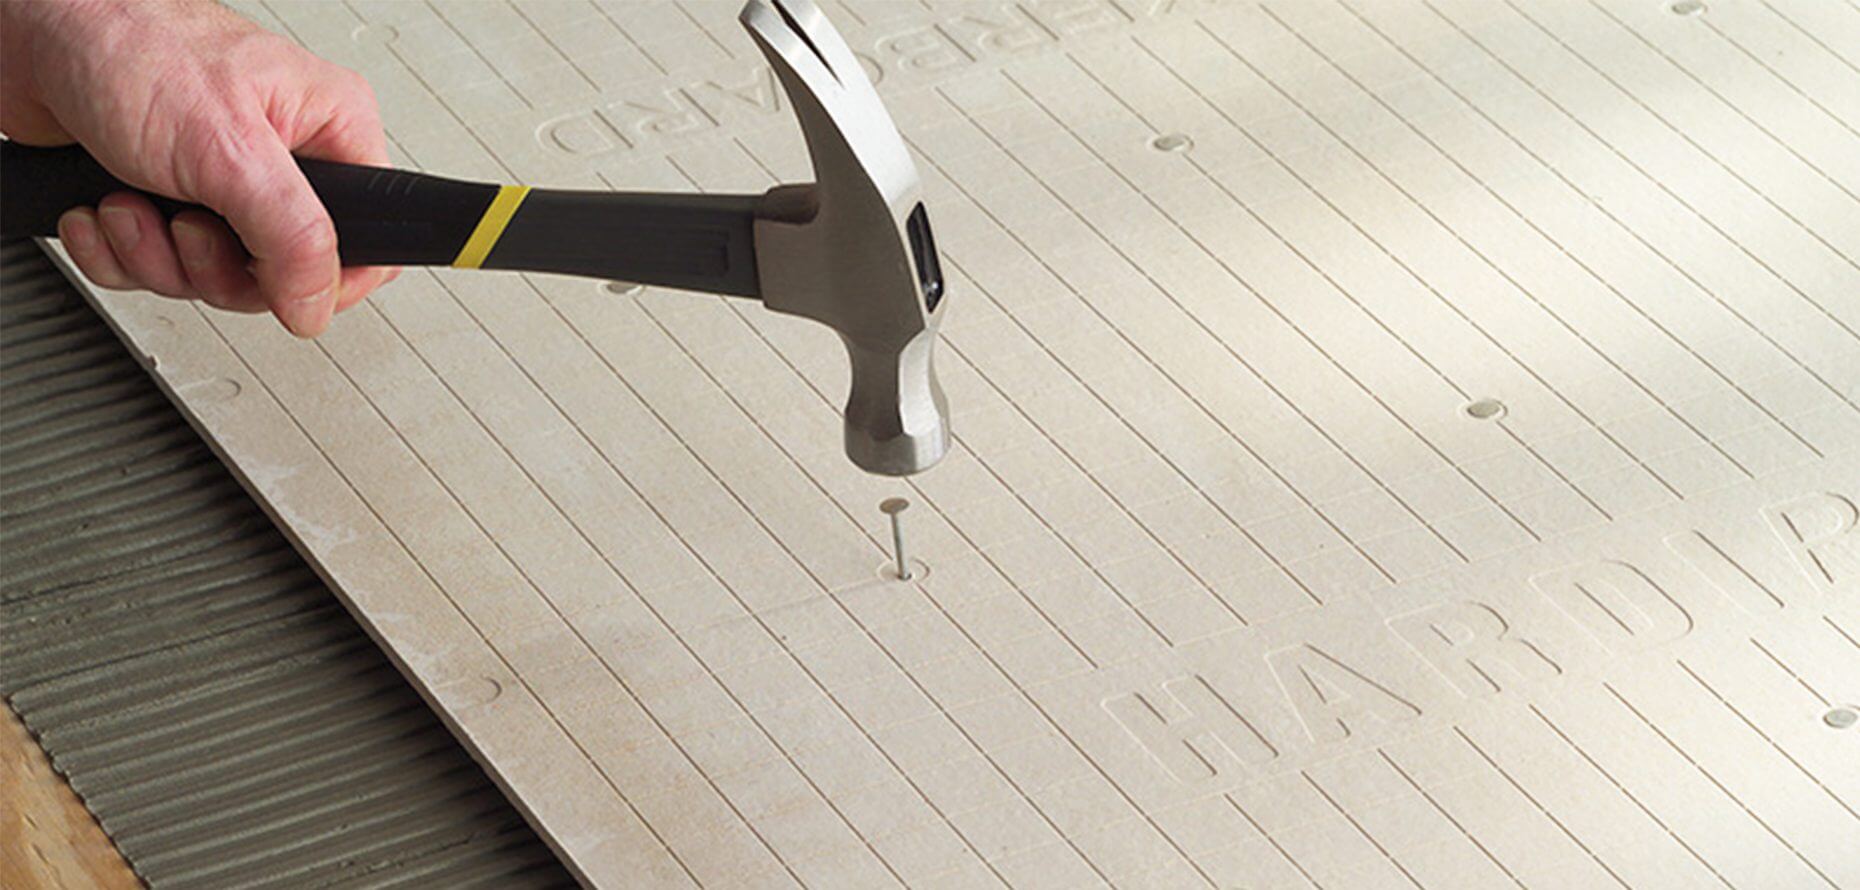
Cementitious Backer Units (CBUs)
Cement boards are one of the most commonly used tile backer options, especially in areas that see a lot of moisture. They’re made from cement and reinforcing fibers, which gives them excellent strength and water resistance.
They’re a solid pick for showers, floors, and tub surrounds. On the flip side, they can be heavy and a bit of a pain to cut unless you have the right tools. Still, for areas that need a super durable base, CBUs remain a reliable go-to.
Foam Backer Boards
Foam boards are made from materials like extruded polystyrene. They’re waterproof, lightweight, and easy to work with. You can score and snap them with a utility knife—no power tools needed.
They shine in places like walk-in showers, bathroom walls, or any spot where moisture is a concern. Many foam boards even come with a built-in waterproof membrane, cutting down on extra steps during installation.
Fiber Cement Boards
Fiber cement boards are made from a mix of cement and cellulose fibers. They offer a nice balance between strength and weight, which makes them suitable for both floors and walls.
They don’t soak up water like a sponge, but they’re not completely waterproof on their own. That’s why they’re often used with additional moisture barriers in damp areas. For general tiling projects in kitchens or entryways, these boards hold up really well.
Glass Mat Gypsum Boards
These boards have a moisture-resistant gypsum core wrapped in fiberglass mats. They’re a lighter alternative to cement boards and much easier to cut and handle.
They work best in places like bathroom ceilings or walls where water exposure is low to moderate. Just make sure the seams are sealed properly to keep water from sneaking in over time.
Liquid Waterproofing Membranes
Instead of using a board that’s already waterproof, you can roll or brush on a liquid membrane over a more standard backer. Once it dries, you’ve got a continuous waterproof layer that can cover tricky corners and seams.
This method is popular in custom showers or oddly shaped spaces. Just make sure to follow drying times and apply it evenly for the best results.
Sheet Membranes
Sheet membranes are another waterproofing method, but they come in large rolls or sheets that get applied over your backer board. They’re typically installed with thin-set mortar and create a dependable moisture barrier.
They’re a smart choice for steam showers and high-humidity rooms. While they take a bit more effort to install correctly, they provide a lot of peace of mind in moisture-heavy environments.
Factors to Consider When Choosing a Backer Board
Moisture Exposure
Is the area going to see frequent water contact? For wet zones, stick with waterproof or highly water-resistant options.
Ease of Installation
Some boards are easier to cut and handle than others. Foam boards, for example, are great for DIYers, while cement boards are tougher but more rugged.
Tile Type Compatibility
Large or heavy tiles may need a stiffer, more supportive board. Make sure your backer board can handle the weight and size of your tiles.
Application-Specific Guidance
Bathrooms and Wet Areas
Stick with foam boards, cement boards, or a setup that includes sheet membranes. You want full moisture protection in these spots.
Kitchens and Dry Areas
Here, moisture isn’t a huge concern, so fiber cement or glass mat boards usually do the trick.
Floors vs. Walls
For floors, go with something rigid like cement or fiber cement boards. For walls, lighter options such as foam or glass mat boards are easier to install and manage.
Installation Best Practices
Start with a Clean Base
Make sure the surface underneath is clean, flat, and dry. Any leftover debris can mess with how well the tile sticks.
Proper Fastening is Key
Use corrosion-resistant screws and follow the manufacturer’s spacing guidelines. Boards need to be flush and firmly secured.
Seal the Joints
Don’t forget to tape the seams and use a thin-set mortar to seal everything up. In wet areas, you’ll want to go the extra mile with a waterproofing membrane.
Maintenance and Durability
Once your tile is installed over a solid backer board, there’s not much ongoing maintenance required. But it’s important to get the installation right the first time. Water damage and tile movement often come from poor prep or sealing.
Choose materials designed to last and make sure every layer—from subfloor to sealant—is solid. That’s how you get an installation that holds up for the long haul.
Environmental and Safety Considerations
Some backer boards are made with recyclable or low-VOC materials, which is great if you’re trying to be more eco-conscious. Also, when working with cement-based boards, always wear a mask—cutting them can kick up a lot of dust.
Technological Advancements
In recent years, backer boards have evolved to be more user-friendly. You’ll find boards that are lighter but just as strong, or ones that come with waterproof layers already built in. Some are even designed to pair with underfloor heating systems.
These improvements make the installation process smoother and help avoid common pitfalls—especially for DIYers.
DIY vs. Professional Installation
If your project is simple and in a dry zone, doing it yourself is totally doable. Foam and gypsum-based boards are especially beginner-friendly. Just be sure to follow instructions and take your time.
For complex layouts or high-moisture areas, bringing in a pro can save you from costly mistakes. Tiling is all about precision, and getting the base right is non-negotiable.
Common Mistakes to Avoid
One of the biggest errors is skipping the backer board altogether and tiling directly on drywall—especially in bathrooms. It won’t last.
Other common slip-ups include using the wrong fasteners, not sealing joints properly, or mismatching the backer board to the tile type. These oversights can lead to water issues or tile movement later on.
Expert Tips and Techniques
Use mesh tape on seams and apply thin-set mortar generously to strengthen the base. Always check that your surface is flat and even before tiling.
If you’re installing in a shower, take the time to double waterproof—once over the seams and again with a full membrane layer. It’s an extra step, but it pays off in durability.
Main Key Takeaways
- A reliable tile backer board makes all the difference in how your tile installation performs over time.
- Match your board to the space—wet or dry, floor or wall—to avoid long-term issues.
- Take your time with installation. Solid prep means less chance of repairs down the road.
- If in doubt, lean toward moisture-resistant options and don’t cut corners on sealing.
FAQs
What is the best backer board for a shower?
Foam boards and cement boards paired with waterproofing layers are top choices thanks to their moisture resistance.
Can I install tile directly on drywall?
Only in low-moisture, dry areas. For anything else, you need a dedicated tile backer board.
How do I waterproof a backer board?
Use a liquid membrane or apply sheet membranes over joints and surfaces to prevent water intrusion.
Is it necessary to use a backer board for floor tiles?
Absolutely. It provides a stable, level surface and reduces the risk of cracks caused by movement.
How thick should a tile backer board be?
Generally, 1/4″ for walls and 1/2″ for floors. Always check your tile and board specs to be sure.